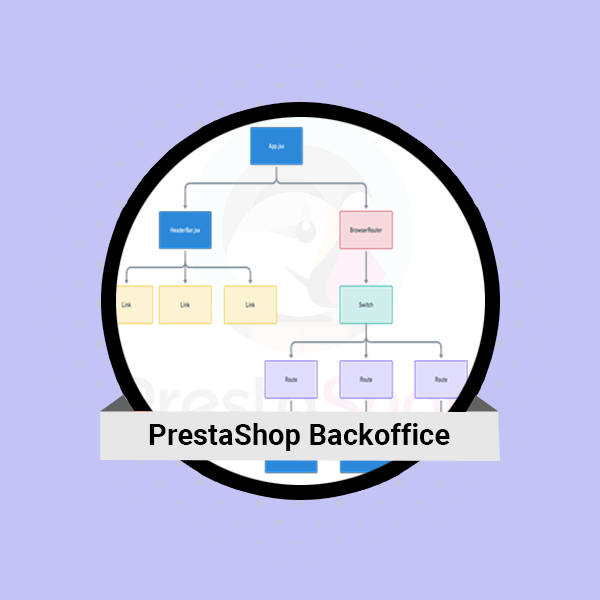
How to use JS routing component in PrestaShop Backoffice-Connect Infosoft
We will learn how to use the Javascript routing component in the PrestaShop back office. You can utilize components without importing them since the 1.7.8.0 release. This object is window.prestashop.component.
These are some guidelines for understanding the JS component.
1. Create a Custom Back Office Module:
- Create a new module in the `/modules` directory of your PrestaShop installation.
- Define the necessary module files and structure, including the main module file (`yourmodule.php`) and the module configuration file (`config.xml`).
- Implement the necessary hooks and overrides to integrate your module into the PrestaShop back office.
2. Add JavaScript Routing Library:
- Download and include a JavaScript routing library in your module. You can use popular libraries like Vue Router, React Router, or even a smaller library like page.js.
- Add the routing library file(s) to your module's assets or include them directly in the back office template files.
3. Define Routes:
- Determine the routes you want to handle using JavaScript in the PrestaShop back office.
- Define the routes using the syntax and conventions provided by the chosen JavaScript routing library. This typically involves specifying the URL pattern, associated component or action and any additional parameters.
4. Handle Route Changes:
- Set up an event listener or callback function to handle changes in the route.
- When the route changes, update the displayed content or trigger the necessary actions using JavaScript.
5. Integrate JavaScript Routing with Back Office Templates:
- Identify the back office template files where you want to use JavaScript routing.
- Add the necessary JavaScript code to initialize the routing library and handle route changes.
- This typically involves importing the routing library, defining the routes and setting up the necessary event listeners or callback functions.
6. Customize Back Office Pages:
- Identify the specific pages or sections in the PrestaShop back office where you want to apply JavaScript routing.
- Modify the corresponding back office template files to incorporate the JavaScript routing functionality.
- Update the HTML structure and include appropriate JavaScript code to render components or trigger actions based on the defined routes.
7. Test and Debug:
- Thoroughly test your JavaScript routing implementation in the PrestaShop back office to ensure it functions as expected.
- Use browser developer tools to debug any issues and verify that the routing library is correctly capturing and handling route changes.
It's important to note that modifying the PrestaShop back office using JavaScript routing components goes beyond the standard customization options provided by PrestaShop. This approach requires advanced development skills and may involve potential compatibility issues with future PrestaShop updates.
Make sure to carefully consider the implications and potential risks associated with customizing the PrestaShop back office, as it can affect the stability, security and compatibility of your PrestaShop installation. Always back up your files and test thoroughly before making any changes to production environments.
TAGS: How to use JS routing component in PrestaShop Backoffice, Hire Prestashop Developer India, Prestashop Development Company in India, Looking for Prestashop Development Service, Looking for Prestashop Developer, Looking for Prestashop Dev Team


