How to Install WordPress Manually - Connect Infosoft
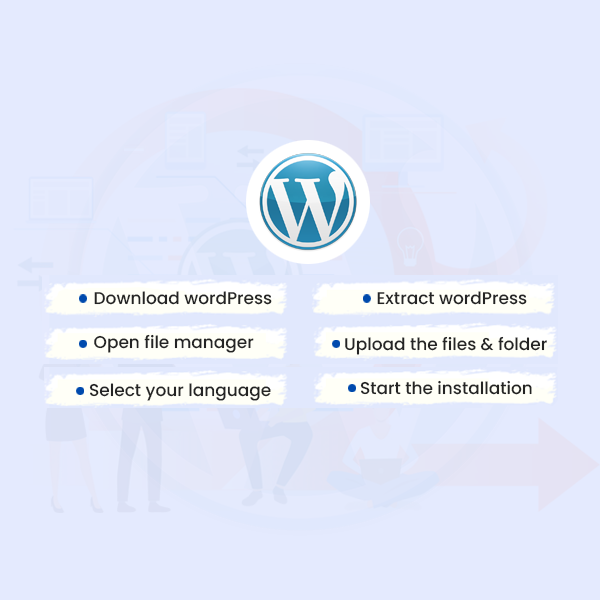
To install WordPress manually, you'll need a hosting account with a domain name and access to your hosting control panel. Follow these general steps to manually install WordPress:
Download WordPress:
Visit the official WordPress website (wordpress.org) and download the latest version of WordPress to your computer.
Upload WordPress Files:
Access your hosting account's control panel (e.g., cPanel) and navigate to the file manager or FTP manager. Upload the downloaded WordPress files to your website's root directory (usually public_html or www folder).
Create a Database:
In your hosting control panel, locate the database management tool (e.g., phpMyAdmin) and create a new database. Take note of the database name, username, and password you set up.
Configure wp-config.php:
In the root directory of your WordPress installation, find the file named "wp-config-sample.php." Rename it to "wp-config.php." Open the file and enter your database details (name, username, password) in the appropriate fields. Save and close the file.
Run the Installation Script:
Open a web browser and visit your website's URL (e.g., www.yourdomain.com). You will be redirected to the WordPress installation page. Select your language and click on the "Let's go!" button.
Enter Database Information:
On the database setup page, enter the database details you created earlier. The database name, username, password, and database host (usually localhost) should be entered correctly. Click on the "Submit" button.
Run the Installation:
WordPress will verify the database connection. If successful, click on the "Run the installation" button.
Set Up WordPress:
On the installation page, provide the site title, username, password, and email address for your WordPress admin account. You can also choose whether to discourage search engines from indexing your site during development. Click on the "Install WordPress" button.
Complete the Installation:
After a successful installation, you'll see a confirmation message. You can then log in to your WordPress admin dashboard using the provided username and password.
Customize Site Settings:
Once you log in to the WordPress admin dashboard, you can navigate to the "Settings" menu to configure various site settings. Update your site title, tagline, permalink structure, time zone, and other preferences according to your needs.
Choose a Theme:
WordPress offers a wide range of themes that control the appearance and layout of your website. To select a theme, go to "Appearance" -> "Themes" and click on the "Add New" button. You can browse through the available free themes or upload a premium theme if you have one. Once you find a theme you like, click on the "Install" button, followed by the "Activate" button to make it your active theme.
Install Essential Plugins:
Plugins extend the functionality of your WordPress website. Some essential plugins to consider are security, backup, SEO, and caching plugins. To install a plugin, go to "Plugins" -> "Add New" and search for the plugin by name. Click the "Install Now" button and activate the plugin.
Customize Your Website:
With your theme installed and essential plugins activated, you can start customizing your website's appearance and functionality. Explore the customization options available in your theme settings or use a page builder plugin to create unique layouts. Add pages, create menus, and customize the sidebar widgets to create a website that matches your vision.
Create Content:
Begin adding content to your WordPress site. You can create blog posts, and static pages (such as an About page or Contact page), and organize them into categories or tags. Use the intuitive WordPress editor to format and style your content. You can also insert media such as images and videos to enhance your posts and pages.
Enhance Security:
To keep your WordPress website secure, make sure to take the necessary security measures. This includes using strong passwords, keeping WordPress core, themes, and plugins up to date, using a reputable security plugin, and regularly backing up your website.
Regular Maintenance:
WordPress requires regular maintenance to ensure optimal performance and security. Regularly update WordPress, themes, and plugins to the latest versions. Regularly back up your website to safeguard your data. Monitor website performance and address any issues promptly.
That covers the essential steps to continue after installing WordPress manually. Remember to explore the WordPress ecosystem, including themes, plugins, and resources, to make the most out of your website. WordPress has a vast community and extensive documentation, so don't hesitate to seek help if needed. Enjoy building and managing your WordPress website!
That's it! You have manually installed WordPress on your website. You can start customizing your site, installing themes and plugins, and creating content from here.
Please note that the specific steps may vary slightly depending on your hosting provider's control panel and interface. If you encounter any difficulties, it's recommended to consult your hosting provider's documentation or support resources for more precise instructions.
TAGS: How to Install WordPress Manually, Looking for WordPress Customization Service, Looking for WordPress Development Service in India, Hire PHP7 Developers in India, Web Development Service in India


